3DS Max
First I opened 3DS Max and created a blank scene. In this screenshot it is showing you an Ngon and a open arc. I did this by clicking onto the create tab then clicking onto the shapes tab. This then showed me more shapes such as arc, egg, star etc. I clicked onto arc and created the open arc as you click once and drag then on the second click it creates the open arc which is also called an open spline. I then created the Ngon after.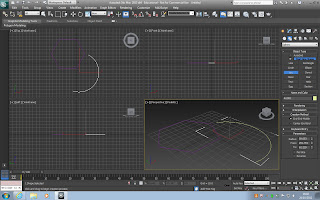
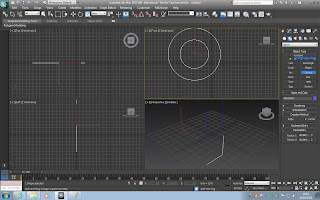
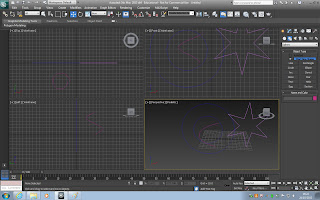
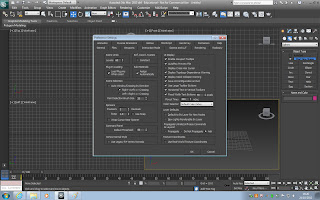
The next thing I did was to create an open spline line. I did this in one of the authographic viewports and sometimes it can create problems if you dont. To create this I clicked on the line tab, I created it in the top viewport. To create it you click and drag, to release you right click. After I had done this I then went to see how this spline is constructed. To do this I made sure I was still cliked onto the line, I then clicked onto the modify tab which is next to create. Where it says line it has a small '+' next to it, I clicked on this and 3 options came up; Vertex, segment and spline. When I clicked onto vertex I could see that altogether I had 3, i had 2 segments which are connecting the vertexes together and I have a subobject spline which selects the whole spline.
I then clicked onto the vertex tab and clicked onto the middle dot and dragged it upwards on the z axis. So that it then looks like a triangle or the top of a roof.
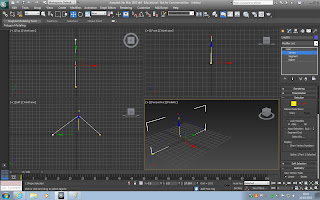
When I had done that I then cloned that line by holding the shift key and dragging. When I released it a tab came up, I changed it to instance. I changed it to instance because if I want to change any of the lines in any way it will change the one that is duplicated in the same way.
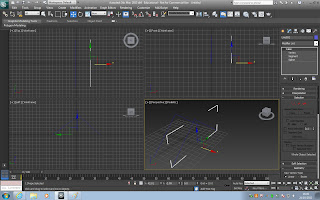
I then deleted the clone I did and made another but this time I changed it to copy. I changed the colour to pink. I then made another clone and changed the colour to green so that I had 3 splines altogether. As these are copies I can change them all so that they look different. When I change them they wont all change the same to the one that has been changed.
I then made a surface, to do this I had to attach the three splines together. I clicked onto the attach function which is located on the right hand side in the command panel under Geometry. When all three splines have been selected I then turned off the attach button.


No comments:
Post a Comment