Box modelling a monitorI had followed a tuturial to help me box model a monitor for a PC in 3DS Max. In this tutorial I am going to show you how I have done this.
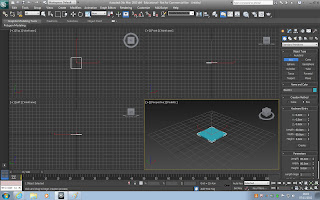
First of all I went to the command panel which is located on the right hand side and went to the create tab, clicked on the box tab, then clicked on the keyboard entry. When I had clicked on that I then changed the length and width to 80.00 cm and the height to 5.0 cm. Before I clicked on create I went to Customise tab which is located at the top of the programme and went to unit setup and changed the metric from metres to centimetres. I then went back and clicked create and a box appeared on screen like so.
First of all I went to the command panel which is located on the right hand side and went to the create tab, clicked on the box tab, then clicked on the keyboard entry. When I had clicked on that I then changed the length and width to 80.00 cm and the height to 5.0 cm. Before I clicked on create I went to Customise tab which is located at the top of the programme and went to unit setup and changed the metric from metres to centimetres. I then went back and clicked create and a box appeared on screen like so.

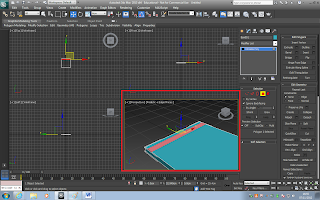
I then right clicked on the box and converted it to an editable poly and then straight away you can see that the command panel has changed as the sub object level has appeared. I then clicked on vertex and as they were small to see, I again went to customize, preferences, viewports, then went to show vertices as dots and changed it from 2 to 4. When I had done this I clicked on the polygon tab and clicked on the top of the box, and then went over to slice plane.

When I had done this I clicked on the edge modelling function and then selected one edge. As I wanted to select two edges I held down control and clicked the opposite edge. This allows me to choose multiple edges.

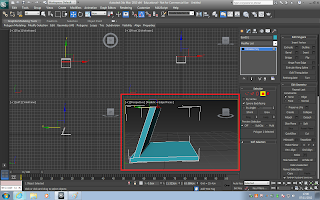
When I clicked on the tick I then clicked on the sub object polygon, and then selected the poly in the middle.


No comments:
Post a Comment